Zurich Cementless THR
Infosheet „Update Reaming Technique“
Over the last 20 years, the KYON Zurich Cementless Total Hip Replacement System has given more than 20,000 dogs a new lease on life, free from chronic joint pain and post-operative full mobility recovery.
With its distinctive design, simplicity and versatility, the Zurich Cementless THR System is the most advanced hip replacement system on the market. To maintain its absolute functionality and to refine its long-term performance, the system has gone through numerous iterations and has since rolled out its 6th generation, continuing its invaluable contribution to the veterinary orthopedic front.
Surgical Reaming Technique
It is our goal to ensure that all our esteemed THR customers achieve the
optimal implantation functionality of our Zurich Cementless THR System and for your patients to reap the benefit of this state-of-art solution. Therefore we ask you to follow the rigid surgical reaming technique customized for our system.
Step-by-Step Reaming Instruction
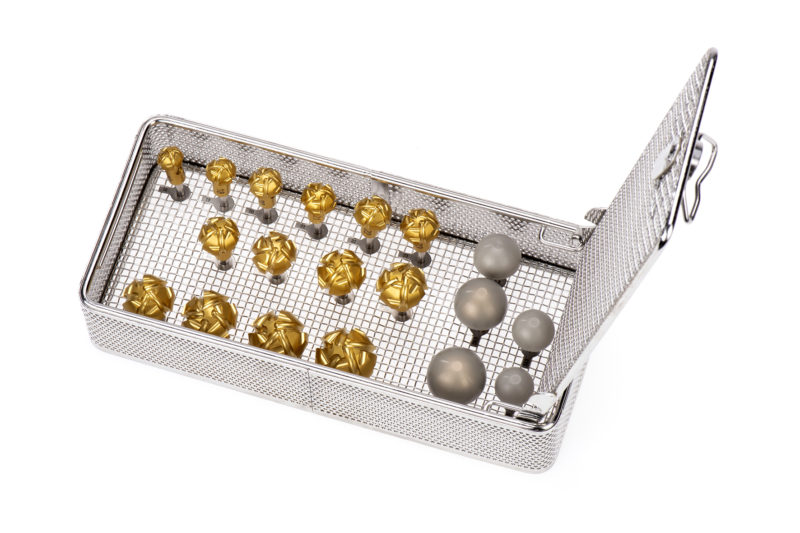
We recommend the use of the gold cup reamers (02.14.XX) for all reaming steps. DO NOT USE any silver reamers from previous generations anymore, as they do not fit the size of the 6th generation implants. |
 |
Step 0
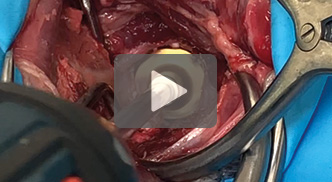
- Identify cranial and caudal pillars
- Retract femur out of the way with a Hohmann retractor
- 2 Gelpis placed orthogonally to expose the acetabulum
- Drill a 2.5mm hole in the fossa to control depth to the medial wall
 Step 1
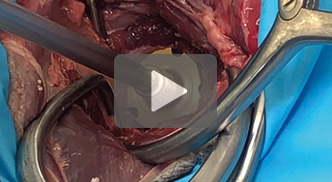
For your first reamer, choose one with a diameter of approximately 3mm smaller than the anticipated cup diameter. Begin the reaming process at low speed and increase to full speed and introduce a small circular motion to uniformly remove the bone from the acetabulum.
 Step 2
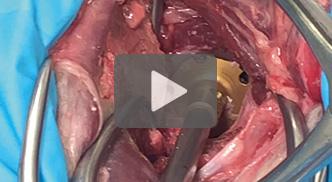
Gradually increase the reaming diameter to further remove the subchondral bone
until final depth is reached and the bleeding cancellous bone is visible. Check depth to medial wall regularly and ream until the step to the fossa is completely reamed away. The medial wall should remain approx 2mm thick.
 Step 3
For this final reaming step, choose a reamer with a diameter of 0.5mm smaller than the anticipated cup diameter (E.g. 26.0mm reamer for 26.5mm cup).
The final reaming and removal of the lip should be carefully performed. This can be achieved using power, going slowly and taking care to check frequently, or manually using the T-handle.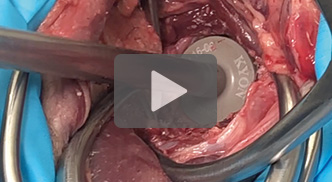 Step 4
Verify the reaming result by using the check ball (trial cup 02.81.XX). It should be fitted in by firmly pushing on the impator shaft. No hammering force should be required. If reaming was successful, the impactor shaft remains in its standing position. If it does not stay, perform reaming with one size down (e.g. 25.0mm) and repeat Step 3 again.


